D&R ONAIR
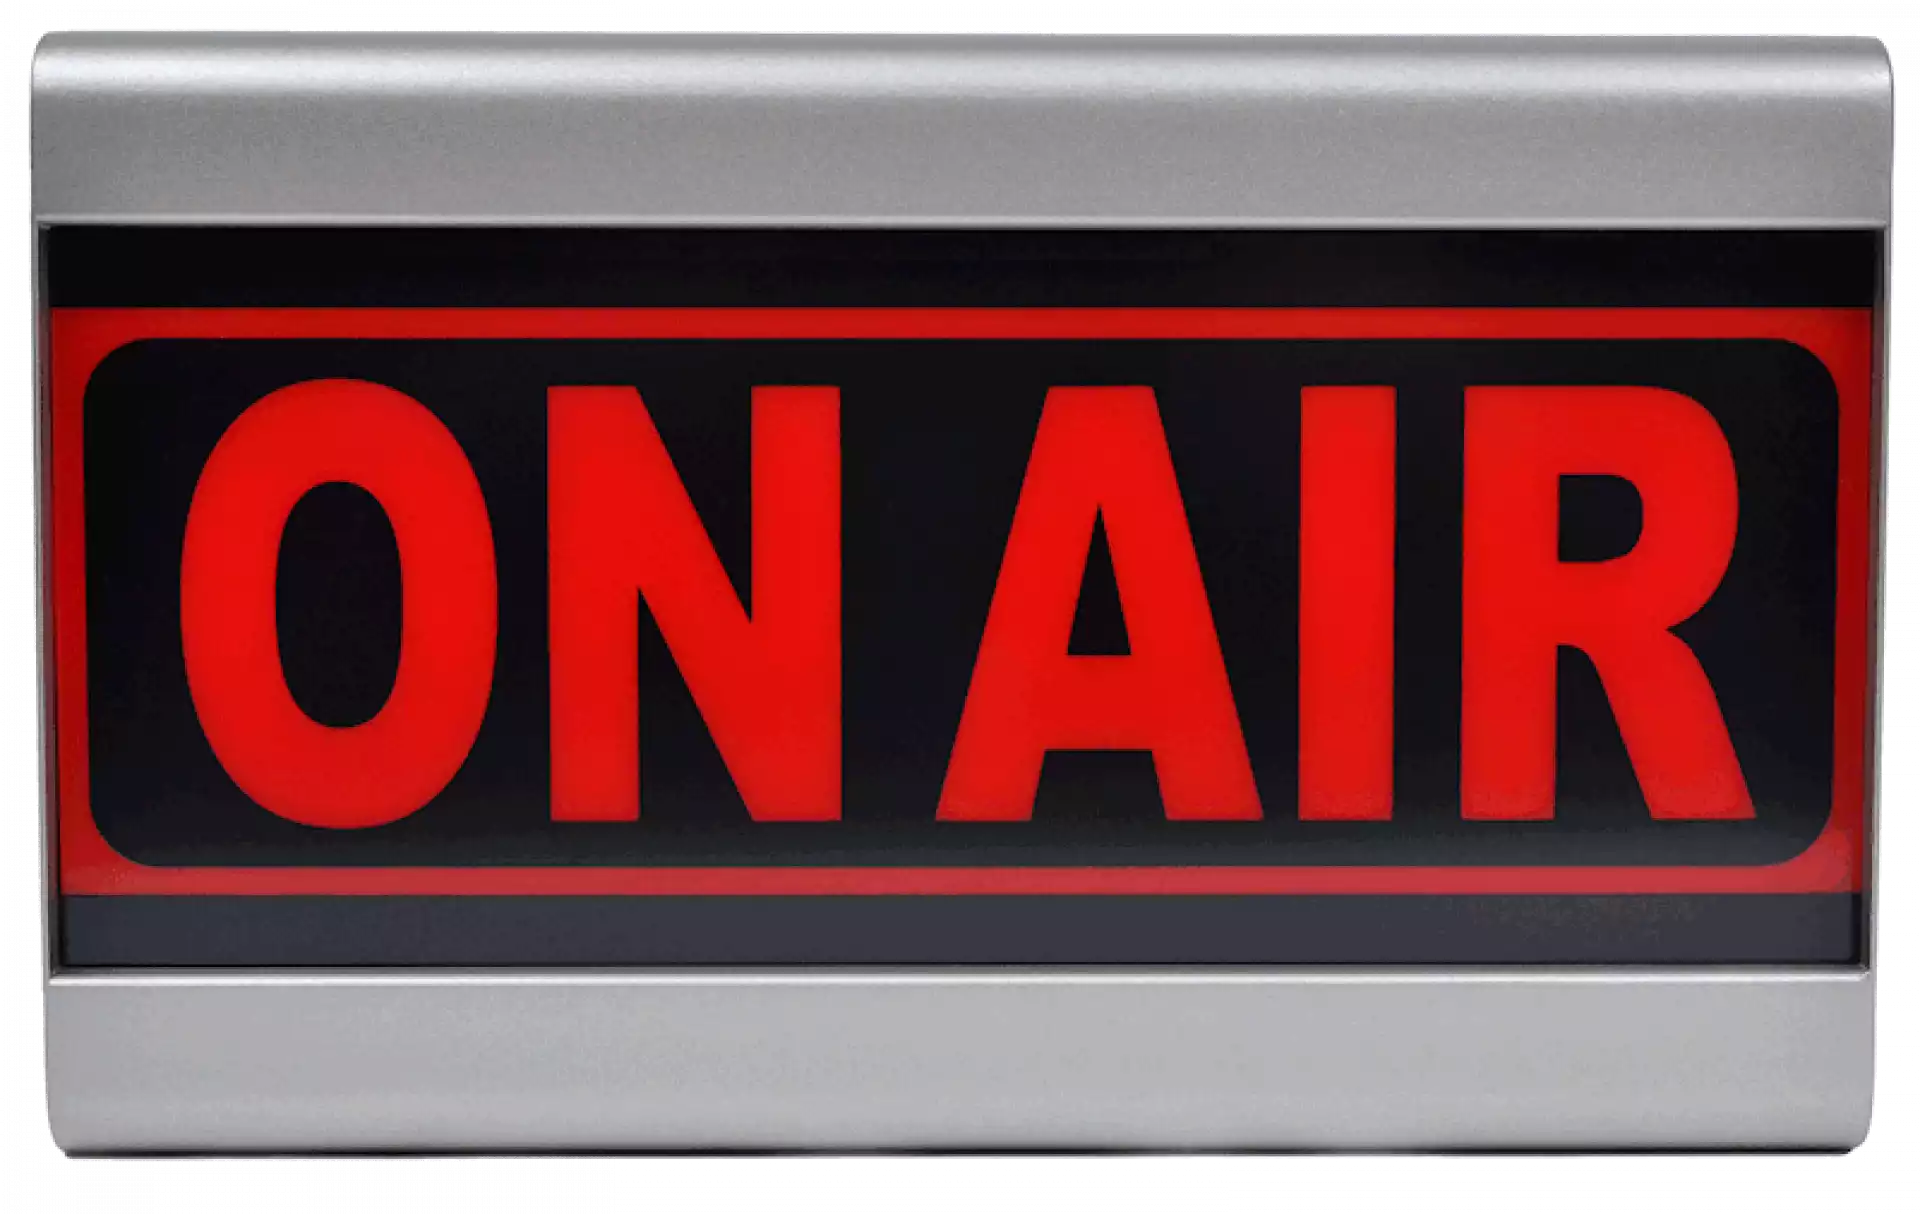
We can supply you a perfect matching ON-AIR light for all our mixers.
Actuallyhere there is no lamp inside anymore, just everlasting high intensity red leds.
What you only need is one stereo cable (wired tip/ring) coming from the MIC-ON connector on the back of the Airmate/Airence/Airlab-DT console that goes directly hardwired to a barrier strip inside the ON-AIR light.
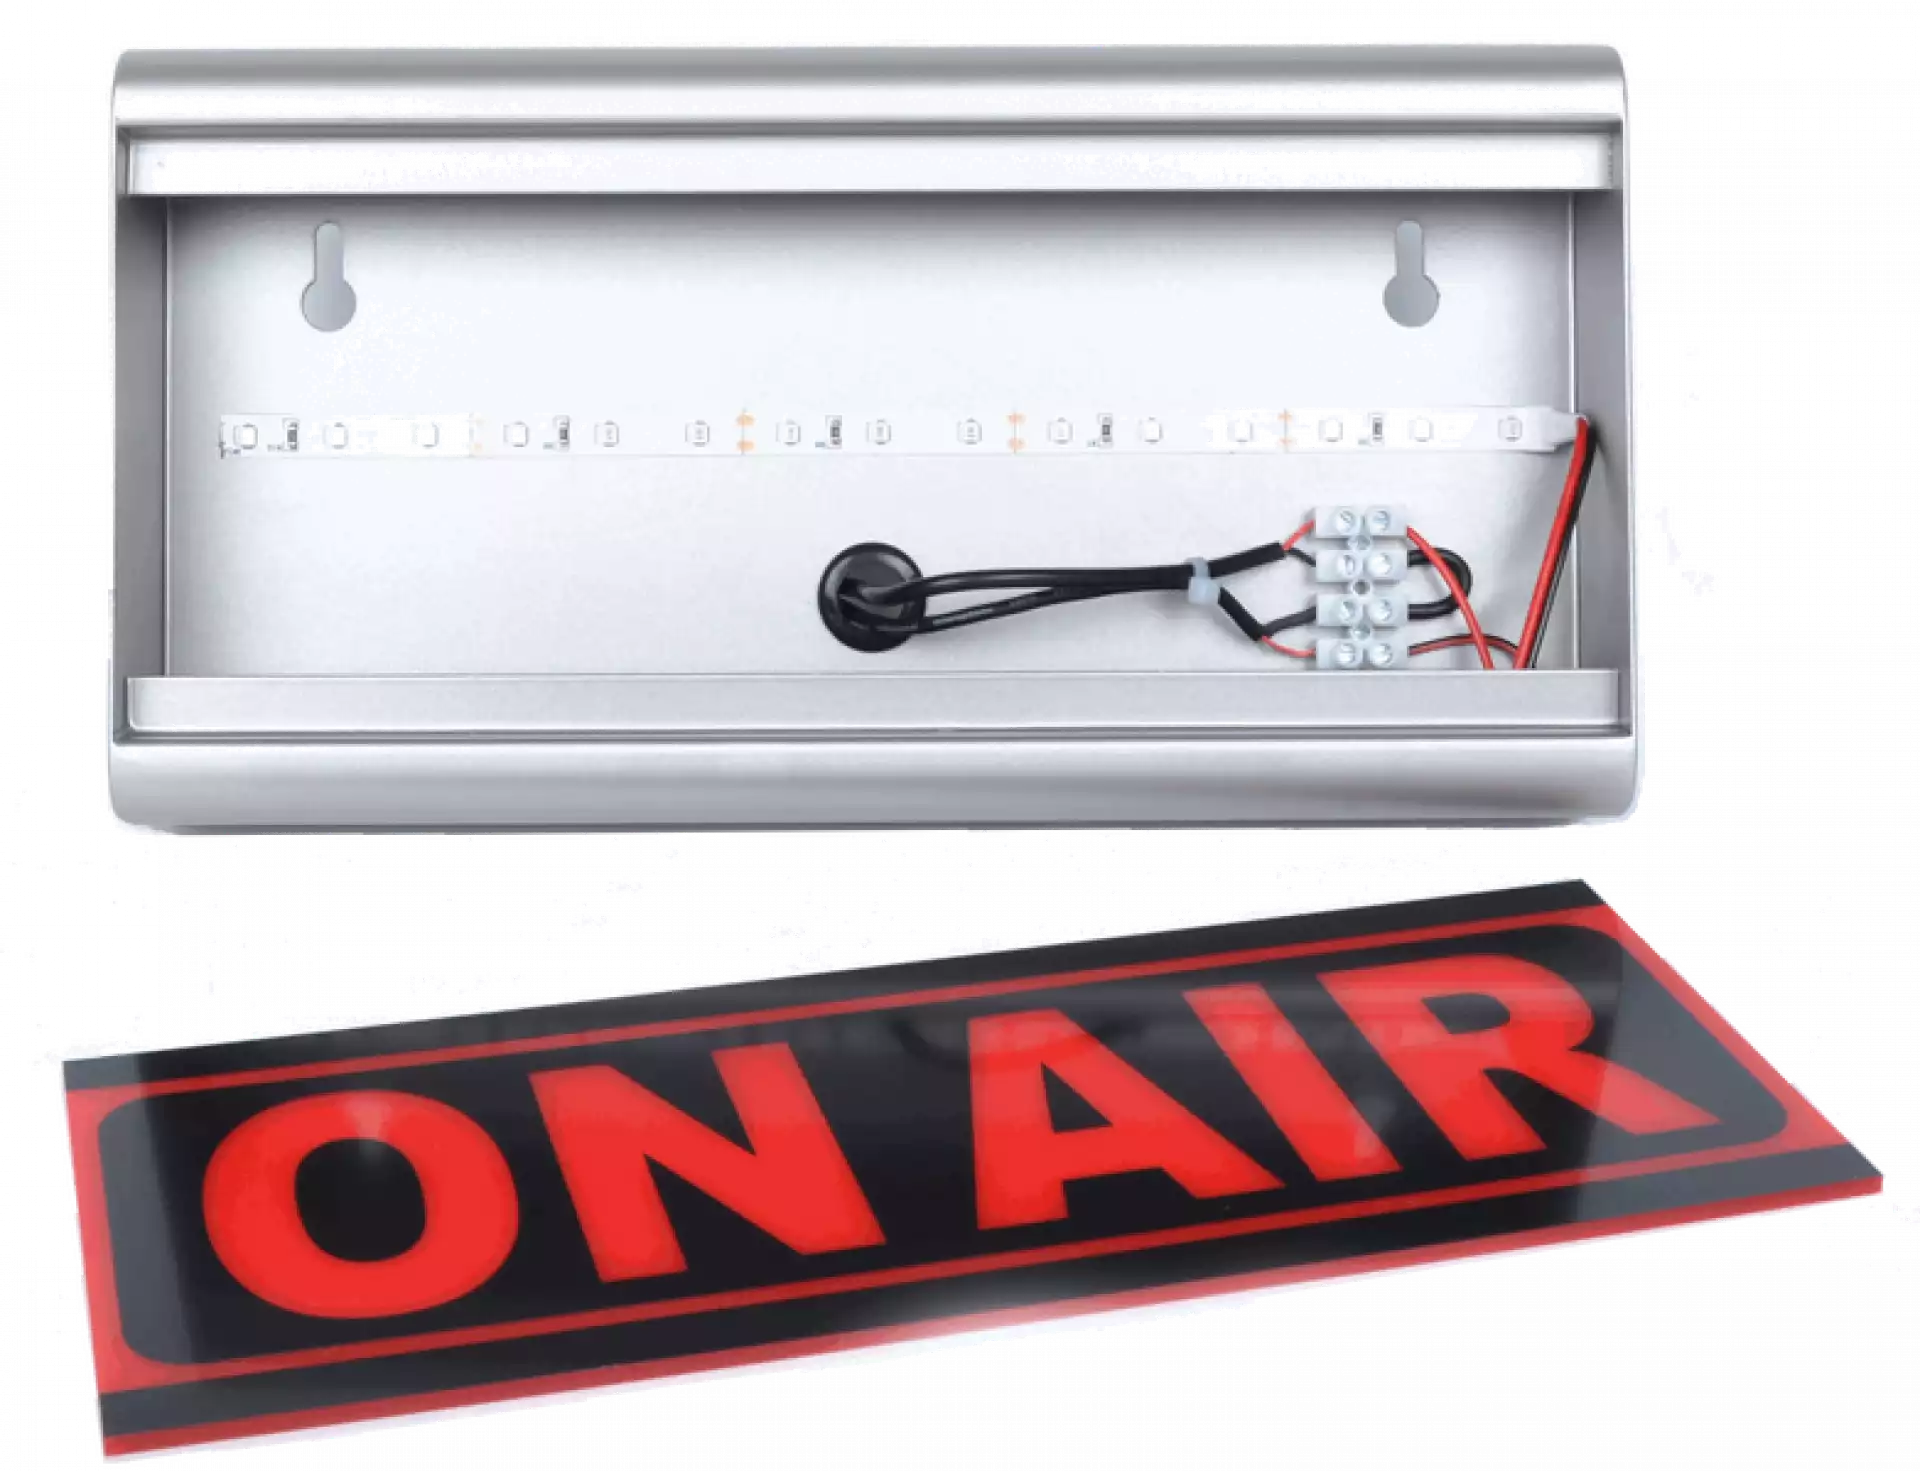
You can see all the systems parts of the ON AIR warning light.
Clear and simple, the intense led strip in the back of the housing, the connector strip ON-AIR plexiglas that needs to be mounted when the frame is fixed on the wall and the wiring is made.
ELECTRICAL WIRING
Now that you have done that, the power supply must be prepared to power up the ON AIR light.
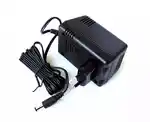
Cut off the plug on the standard adapter we have supplied you inside the package.
If you have stripped the wires check if you can reach the nearest mains wall outlet with the standard cable.
Make sure you do this in a safe way without causing shorts.
Neatly fix the low voltage DC cable to the wall with cable ties and do NOT put the DC power adapter into the main voltage yet.
internal wiring
You can see a white 4 segment terminal block with on the right hand side row the already connected wiring from the led strip to the barrier strip and a shorting wire.
On Pin-1 the plus connection of the ledstrip and on Pin-4 the minus connection. Pin-2 and 3 are shorted by a wire.
Feed the power supply cable through the back hole of the unit and connect the plus pole of the 12 volt DC power supply to Pin-1 (top pin) and the minus pole of the 12 volt DC power supply to Pin-2.
Now feed the control wires through the back wall of the unit and connect one side to Pin-3 and the other wire to Pin-4 where on the picture control is written.
The other end of the two wire control cable can be connected to the tip and ring of a stereo jack in case you own
an Airmate/Airence or Airlab-DT. For the AXUM/AXITE read their manuals for the GPO connections.
Internal terminal block as seen inside the ON AIR Warning Light frame. The right side row has already been wired for you.
From top to bottom you see a wired example on the left side.
In case you want to connect 2x ON-AIR warning lights to one reed relay in the mixer, simply connect the control wires going to the mixer in series with each other, but in the right way!!
power adapter
The unit is powered by a 12 volt DC 1 Amp externalpower supply.
No complicated high voltage AC switching with external relays etc.
display assembly
Hang the ON-AIR warning sign (without diffuser) where you have planned it and prepare all wiring neatly around it and test the unit.
If it works fine remove from the support rails inside of the frame the protection paper from the double sided tape and carefully position the diffuser panel inside the frame so that the text can be read.
If for some reason you need to disassemble the unit, use a soft ended piece of pipe and stick it from the backside of the frame through the keyholes and push out the diffuser panel.
specs
Width 260mm, Height: 125mm, Depth: 65mm
Cable entry holes and key slot holes in the backside
EAN code: 7436917139190
PIN connection
Pin-1= + 12 volt DC 200mA)
Pin-2= - 12 volt DC 200mA)
Pin-3= Control
Pin-4= Control

